*Will these be treasured for years to come- think Xmas stocking. I still have mine from when I was a child. I've also made made "new" ones out of old wool skirts which I hang every year.
*Is my purchase supporting a small, indie or local business? If your money is staying in your physical community or a community you admire purchasing candles or candies is a gift that keeps giving.
*Is my purchase helping to create or establish a tradition- lighting candles, a book read every year, or does it spark a "story" you can retell every year?
*Does the purchase bring you or someone else joy? It makes you smile!
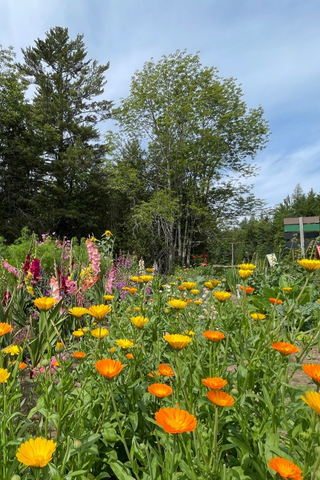
Here are some ideas to help make your Easter celebration more sustainable. I spent a fun day shopping for Easter goodies in my local community.

It's important when you are changing up your holiday traditions to be realistic and think reusable. I read a sweet FaceBook post from a friend about the joy she felt when putting out her Easter heirlooms, especially a bunny her mom had made. We can make these same memories for our children when we purchase wisely.
The first item is the Easter basket/container. We have handmade stockings we use every Christmas and I wish I did the same for Easter. How lovely to use the same container year after year. I'd also include some trinket/filler containers and maybe even a beautiful handcrafted spring animal. Unpack the box as a family a week before Easter and then pack away until next year. Your Easter box becomes the nucleus of your celebration and your children will cherish these memories.
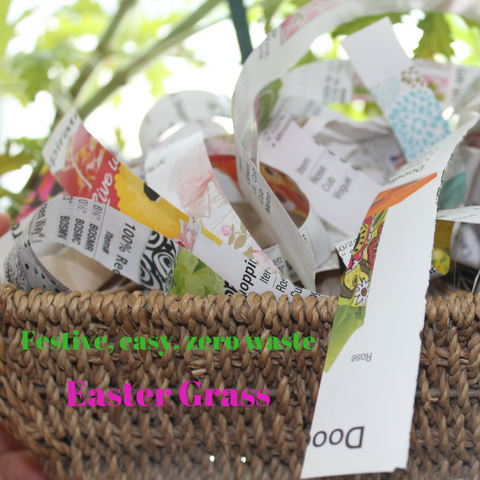
The more you do as a family to prepare for any holidays, the more memories you built and traditions you start. So have an Easter grass making party. All you need is a few old, colorful magazines and scissors. Cut the pages into strips and then older kids can curl. How cute! How fun!
When shopping for Easter treats start at your local coop, health food store or candy store where you can buy from a bin. This will eliminate a ton of unnecessary packaging. It's possible to buy foil wrapped chocolate bunnies and eggs without any extra packaging. Save all the foil bits and roll into a ball. When it gets big enough you can take it to the recycling center. If one of the items in your reusable stash is nesting critters, you can fill them with all your loose, unwrapped candy treats. Check out your local bakery for cute cookies, just remember to bring your own container or bag.

There are lots of other items to fill an Easter goodie basket, depending on the age and interests of your children. For toddlers try small sturdy books, wooden toys, wooden puzzles, play food. Books, art supplies or a card for a special trip or event for older kids. Try to strike a balance between consuming/using on the big day and having a longer shelf life. A family game to be played all together can make a large gathering lots of fun and keeps everyone together away from the TV.
One important step to help everyone understand why reducing, reusing and refusing is so important is a community service action. Our family has added a trash pick up to our holiday celebrations. There’s nothing like picking up a bunch of straws, drink cups, candy wrappers and so on to make it crystal clear why you are on your zero waste journey.
]]>